I still remember the first time I pulled up Blooket in front of a class — I had no idea what half the buttons did, and I had twenty-something kids staring at me waiting for a code that didn’t exist yet. It was a little rough. But by the second time I hosted a game, it clicked, and now it’s honestly one of the easiest parts of my week to set up. If you’re about to host your first one, here’s exactly what to do, step by step, minus the trial and error I had to go through.
Okay, But What Is Blooket, Really?
Basically, Blooket takes the review questions you’d normally shove into a worksheet and turns them into a game your students will actually beg to play again. They answer questions, and getting them right earns them points, coins, or some kind of edge, depending on which game mode is running. One mode’s got kids managing a café. Another’s a tower defense setup where you’re fending off waves of enemies. Another’s just a straight-up race to the finish. Different skins, same idea underneath: answer correctly, get ahead.
What sold me on it wasn’t really the games themselves — it was watching review day stop being something students groaned about. Nobody’s thrilled to fill out a worksheet. But throw up a leaderboard and suddenly there’s some friendly chaos in the room and kids asking for one more round before the bell rings. And as the teacher, you’re not grading a single paper. Blooket does that part for you, live.
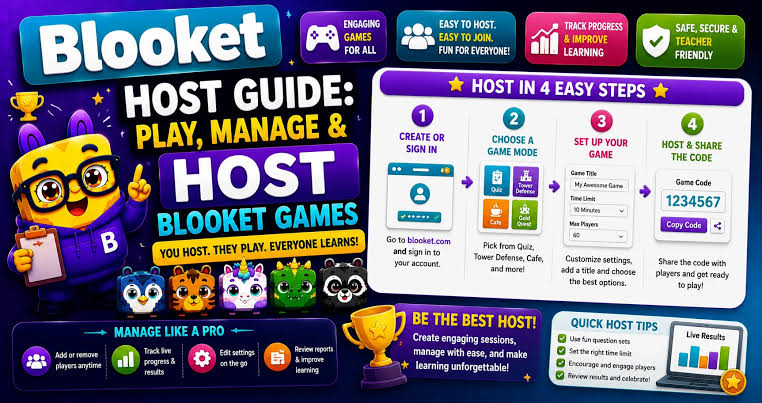
Step 1: Get Your Account Set Up
Nothing happens until you’ve got an account, so start there. Head to Blooket’s website and sign up — email or Google login, doesn’t matter, pick whichever’s less annoying. Stick with the free version for now. It’s got plenty of game modes and a solid chunk of the question library already unlocked. There’s a paid tier if you end up wanting more later, but don’t worry about it for your first run.
Once you’re in, you’ll land on your dashboard. That’s home base — this is where you’ll dig through existing question sets, build your own, and eventually kick off a live game.
Step 2: Line Up a Question Set
You can’t host anything without a set of questions attached to it. You’ve basically got two routes here.
Grab one that already exists. Blooket’s library is huge, and chances are good that whatever you’re teaching already has a handful of sets built by other teachers. Type in your topic — “photosynthesis,” “the water cycle,” whatever it is — and scroll through what comes up. Don’t just click the first result, though. Some of these sets are great, some are pretty rough, so skim a few questions before committing to one.
Or just make your own. If you want the questions to line up exactly with your lesson, building your own set isn’t bad at all. From the dashboard, start a new set, give it a name, and start typing in questions — multiple choice, images if you want, custom time limits per question. It eats up more prep time than borrowing someone else’s set, but nothing feels mismatched or off-topic when it’s finished.
Pick whichever one fits your schedule that day. Both work fine.
Step 3: Pick a Game Mode
Here’s where Blooket really separates itself from a plain quiz tool. Instead of one boring format, you’re choosing between a rotating cast of games, each with its own vibe. A few of the ones you’ll run into constantly:
- Gold Quest — collect gold, steal from classmates, get stolen from right back
- Tower Defense — right answers earn resources to build up your defenses
- Café — students grow a little virtual café by answering correctly
- Battle Royale — head-to-head, last one standing
- Classic — no gimmicks, just question after question
If it’s your first time behind the host controls, don’t overthink this part. Classic or Gold Quest are the easiest starting points, so you’re not trying to learn hosting AND a complicated new game mechanic in the same five minutes.
Step 4: Hit Host and Sort Out Your Settings
Once your set and mode are chosen, click “Host,” and you’ll hit a settings screen. A handful of things to decide here:
- Live game or homework mode. Live means everyone’s playing together in real time off one shared code. Homework mode lets students knock it out on their own time before a deadline — handy for kids who were out sick or for assigning review outside of class.
- Teams vs. solo players. Depends on your class size and how much chaos you’re in the mood for.
- Shuffle the questions or not. I’d turn this on — it stops kids from just glancing at the screen next to them.
- Time limit per question. Adjust based on how tough the material is and how fast your particular class tends to read.
Once you’re happy with the setup, hit start, and Blooket will spit out a room code within a couple seconds.
Step 5: Put the Code Up and Let Them In
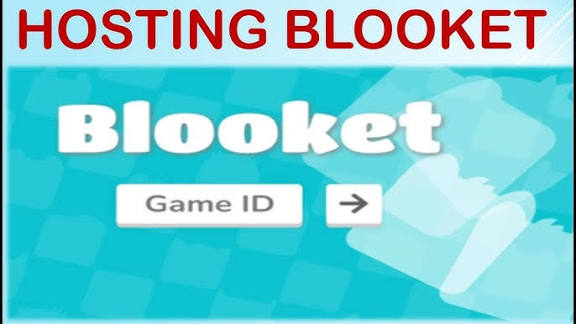
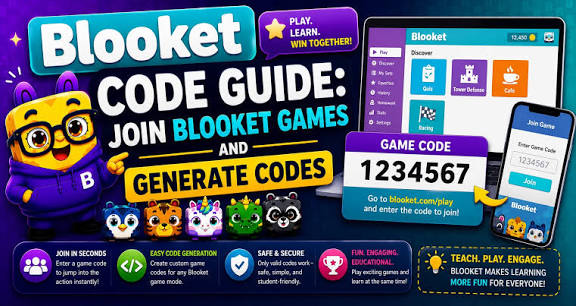
Throw the code on the projector, smartboard, whatever you’ve got. Students go to Blooket’s join page, type it in, and pick a nickname. Quick heads-up — there’s a setting that blocks inappropriate nicknames, and I’d flip that on before the code goes up. You know how creative kids get with a blank text box.
Once names start filling the lobby and everyone’s in, hit start and let the game run itself. Blooket takes it from there — questions come up, answers roll in, and whatever visual theme you picked plays out depending on how the class is doing.
Step 6: Go Over the Results
When the game ends, you get a leaderboard and a breakdown of how the class did on each question. This part’s genuinely useful — it flags exactly which questions tripped up the most students, so you know precisely what to revisit before moving forward. You can export the data too, if you want something to reference later or compare across different class periods.
A Handful of Things That’ll Make Your First Run Smoother
- Test the set yourself before class starts, just to make sure everything loads the way it should.
- Keep it short the first time — ten to fifteen questions is plenty.
- Push accuracy over speed with your students. Otherwise, it turns into a guessing free-for-all instead of actual review.
Once you’ve hosted a couple of these, the whole thing takes maybe five minutes to set up between classes. And more often than not, it ends up being the part of the day your students are looking forward to most.
Disclaimer
This guide is independently written and is not affiliated with, endorsed by, or sponsored by Blooket. All product names, logos, and brands are property of their respective owners. Features and settings described may change over time — always check Blooket’s official site for the most current information.